AI Paint Visualizer

Upload Image

Model

Additional Instructions (Optional)

0/1000
Your uploads stay private and are never added to the public gallery

Real transformations

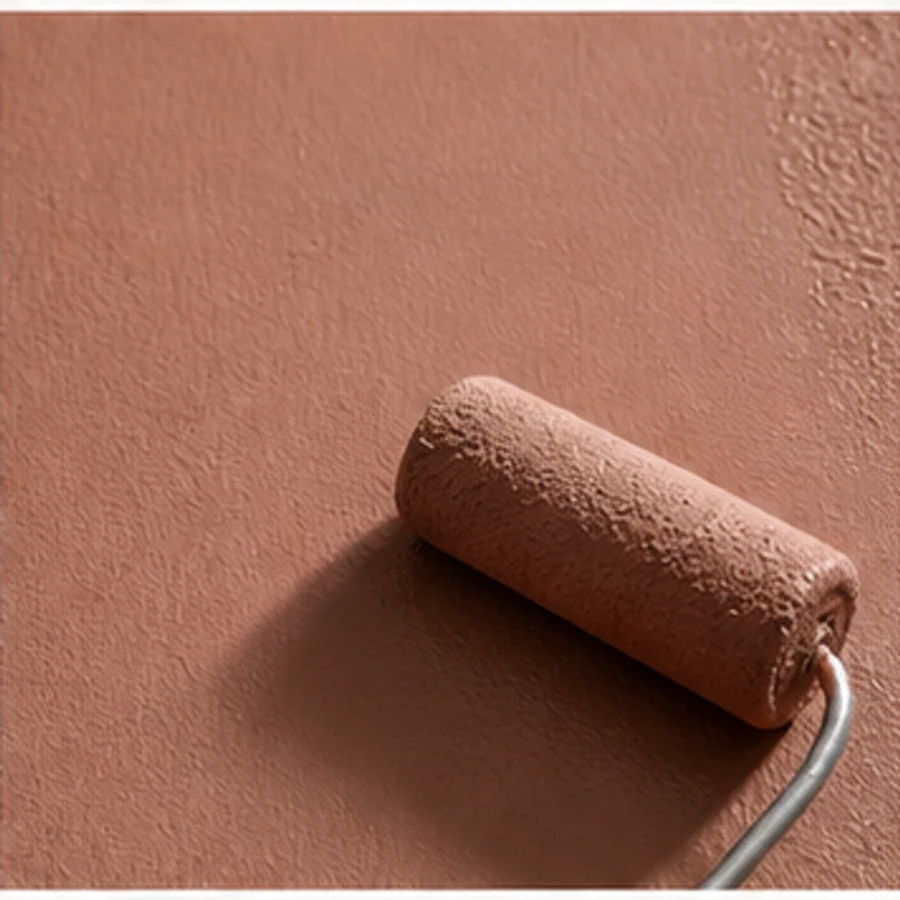
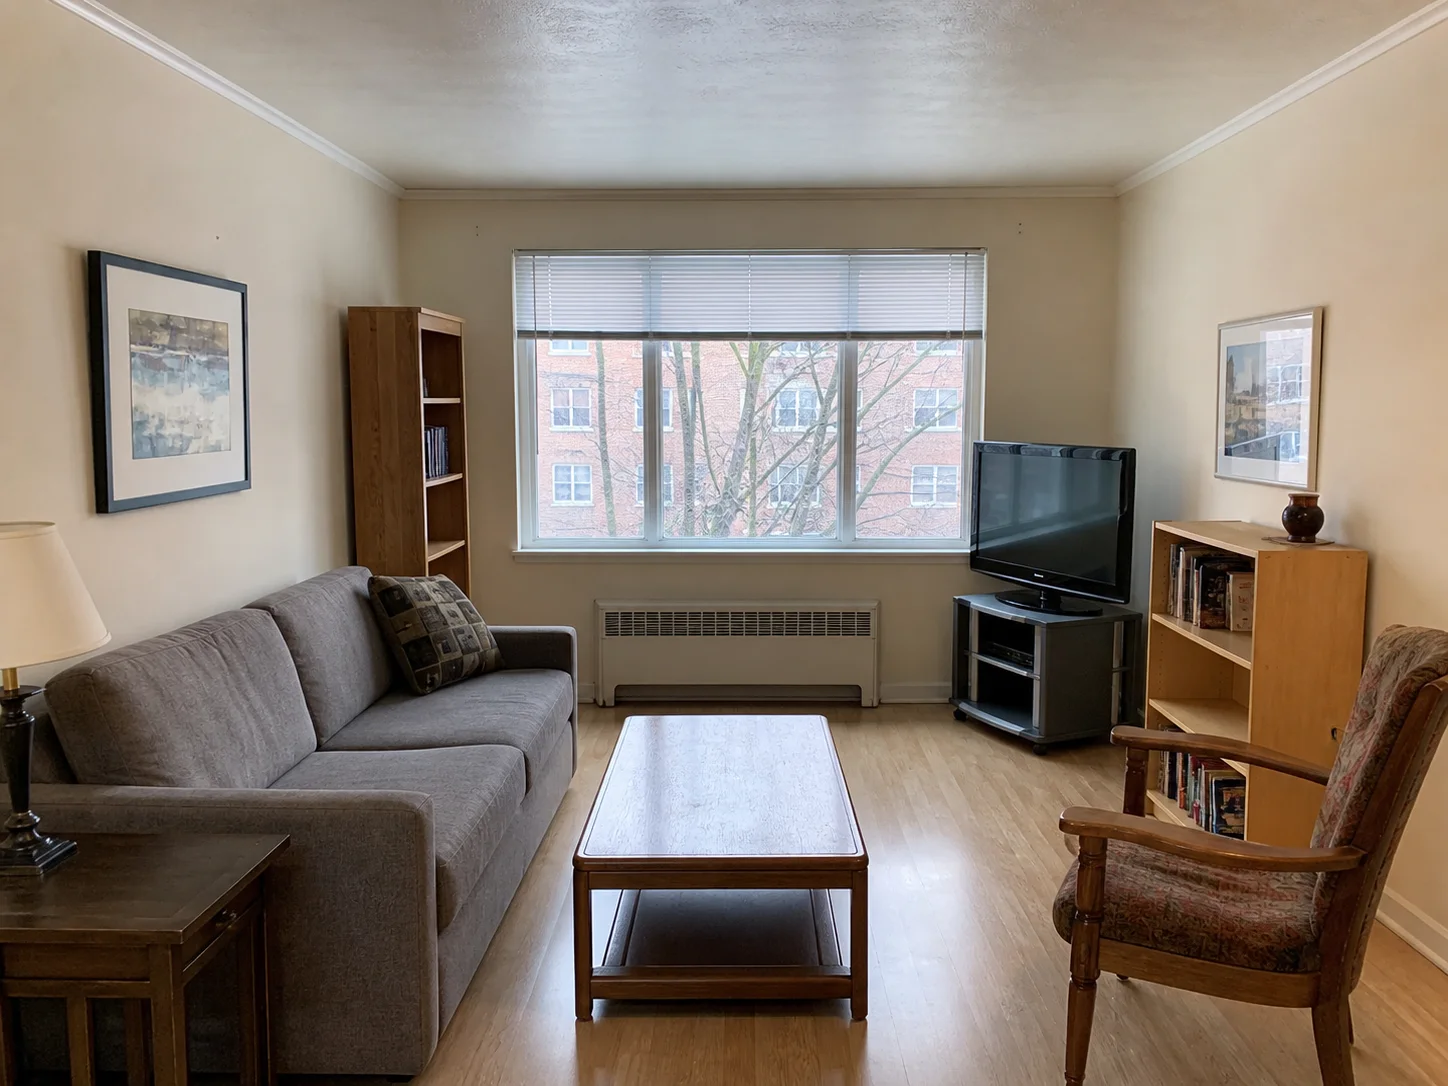
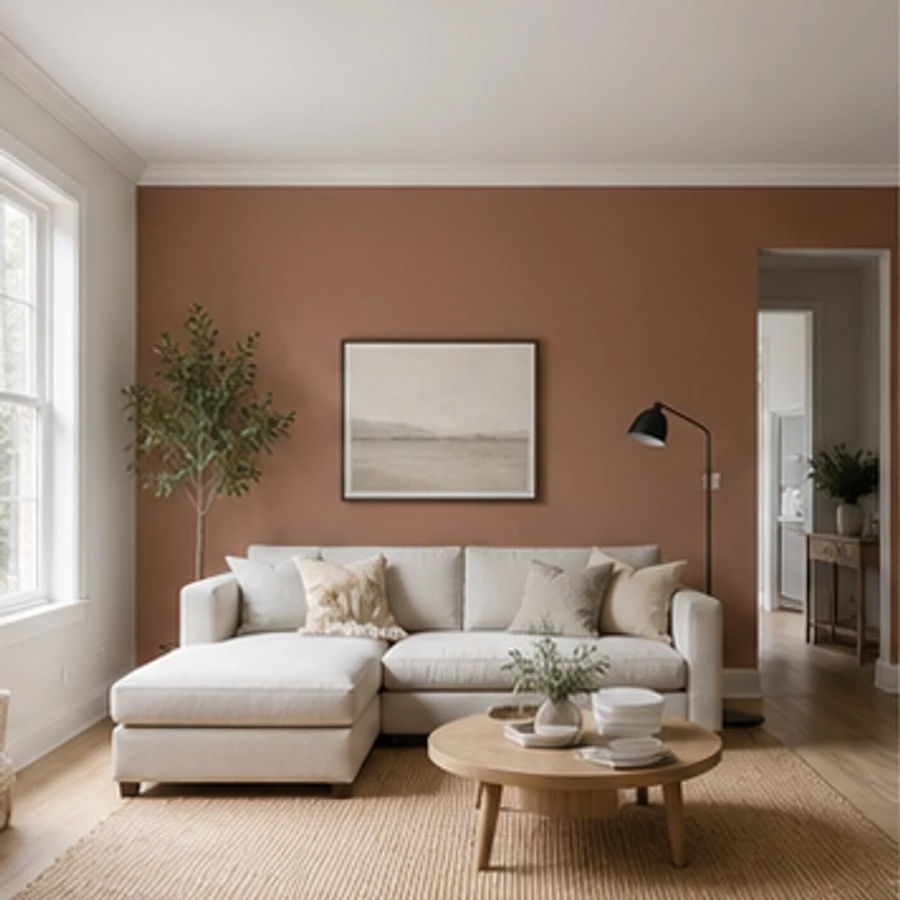
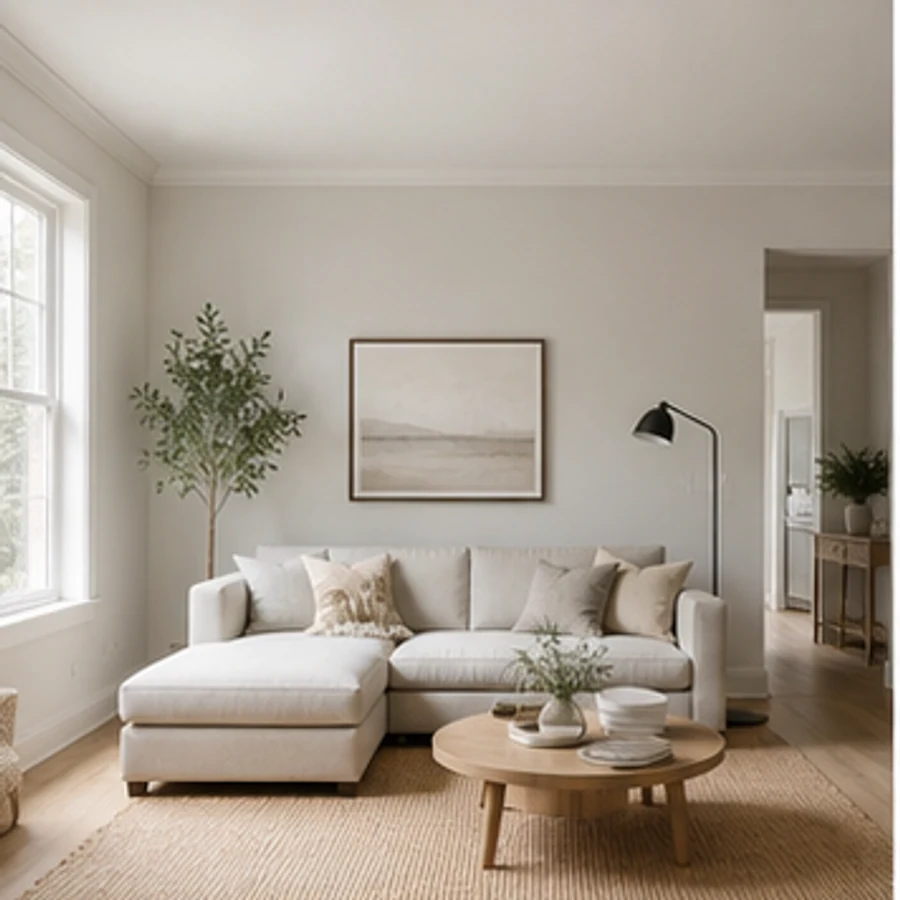
Warm clay accent wall in a bright lounge

Warm clay accent wall in a bright lounge
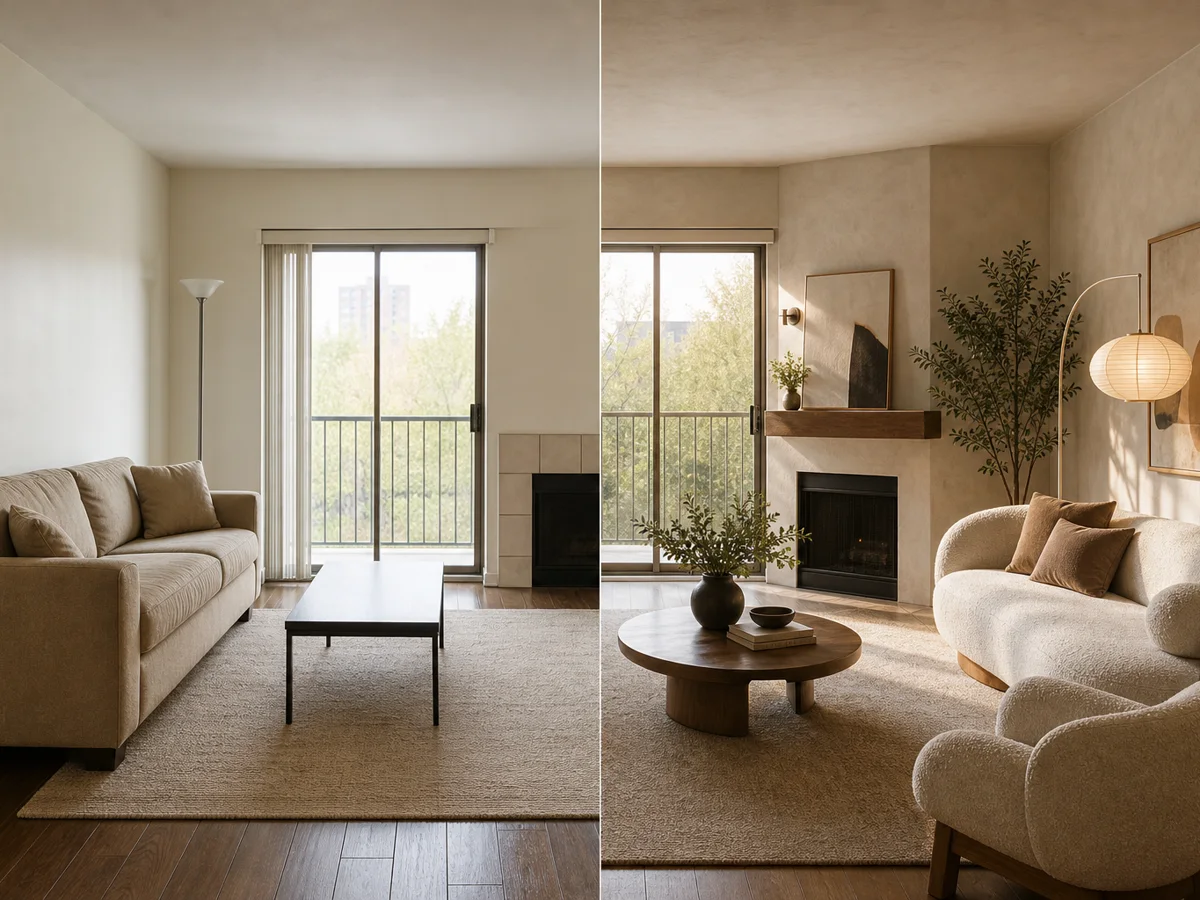
BeforeAfter
Architecture-aware transformations
Reliable generation with automatic recovery
Up to 4K output on supported quality modes

Designed for real spaces

Judge color inside the room, not from a tiny swatch

Color shifts with daylight, adjacent materials and room scale. Mark the exact surface to see a more useful preview before buying paint.

3 stepsfrom photo to design direction
23 toolsfor rooms, exteriors and plans
2K–4Koutput on Pro and Ultra

Real transformations

Different colors, different rooms, controlled edits

Compare calm neutrals, earthy tones and confident accents across living spaces, bedrooms and cabinetry.
Warm clay accent wall in a bright lounge
BeforeAfter

Warm clay accent wall in a bright lounge

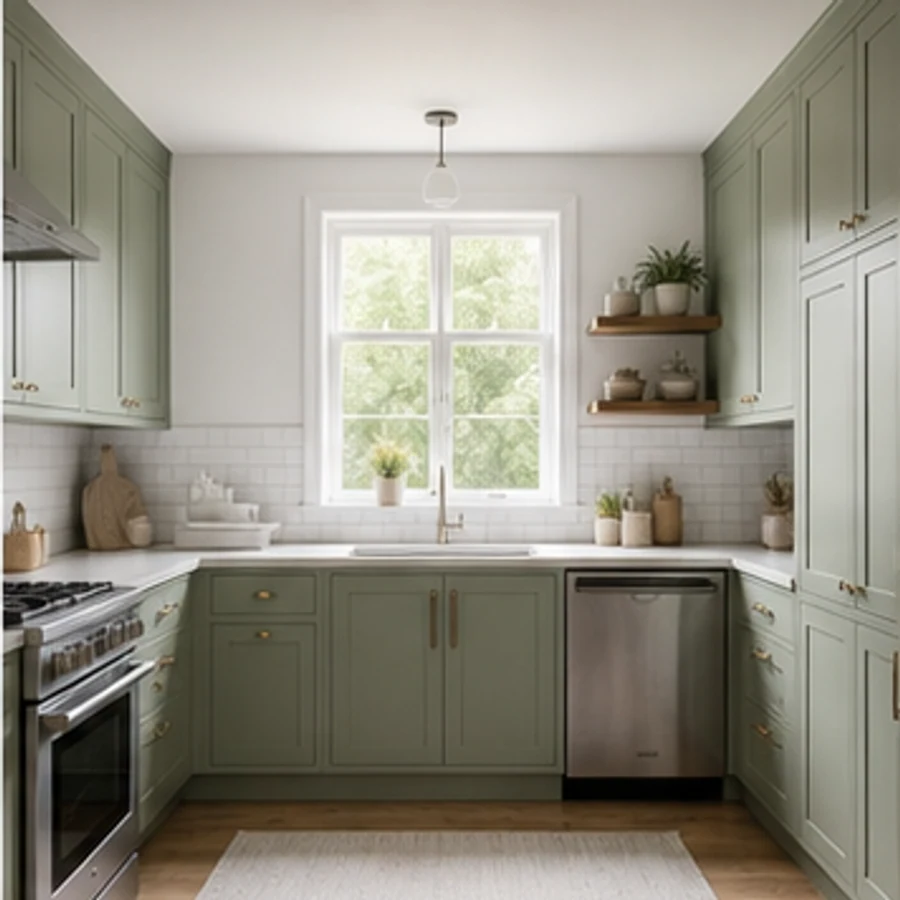
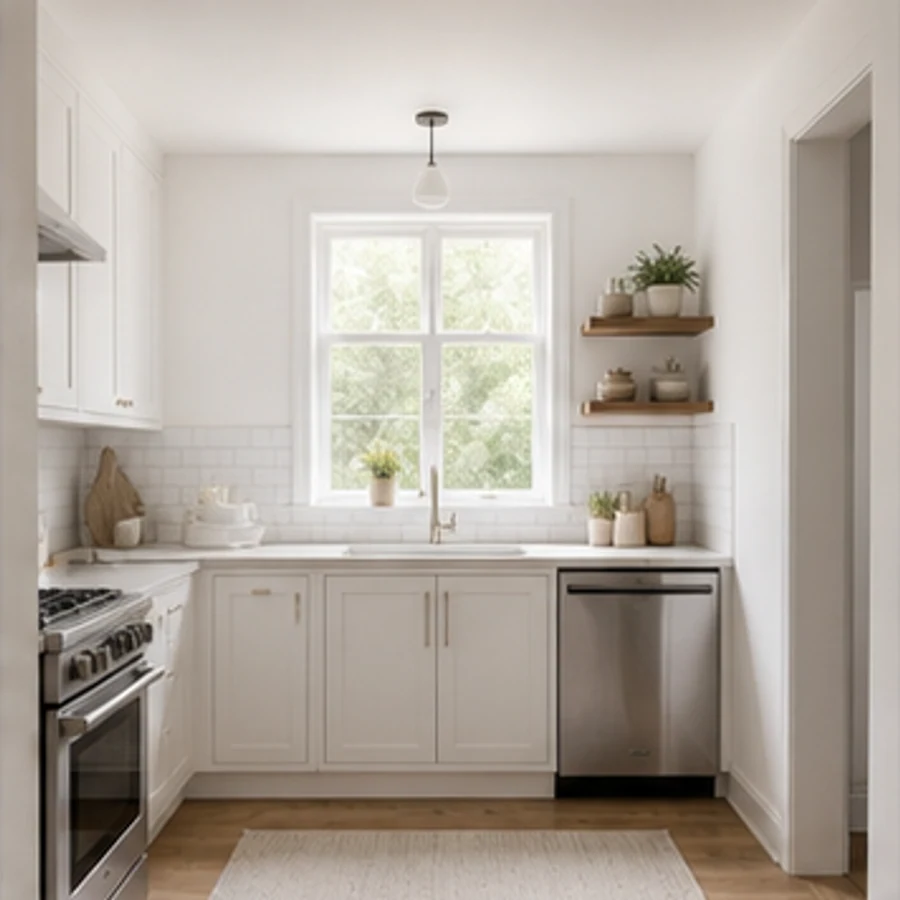
Soft sage cabinetry in a compact kitchen
BeforeAfter

Soft sage cabinetry in a compact kitchen

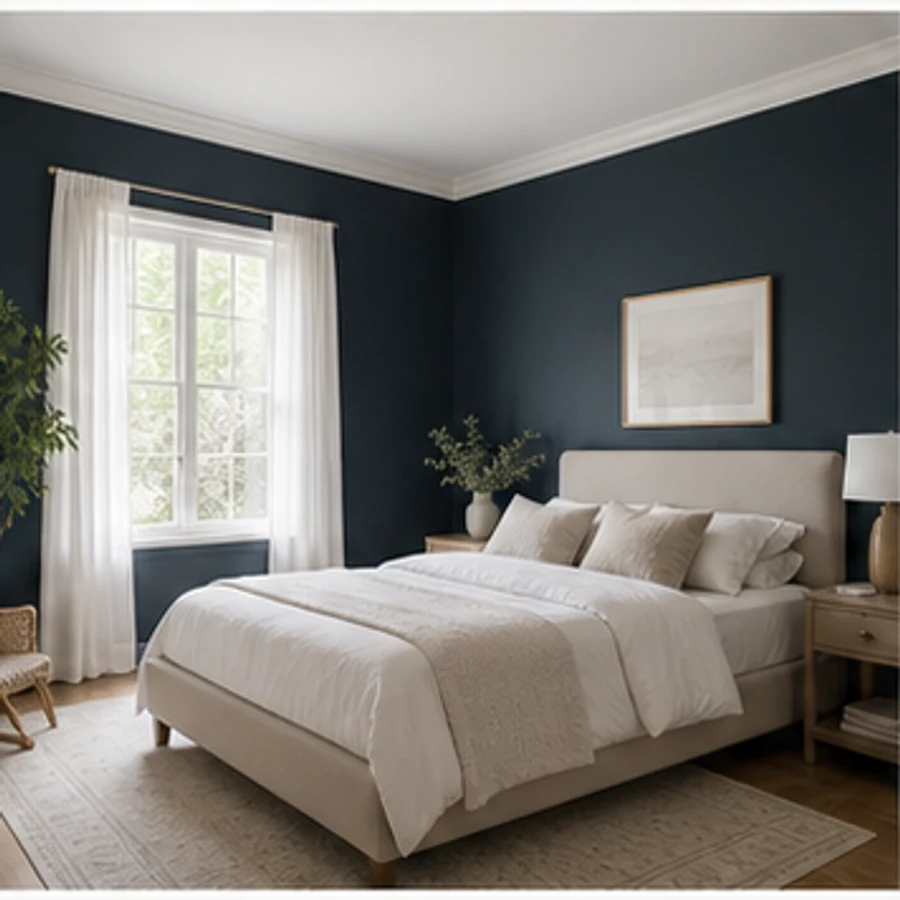
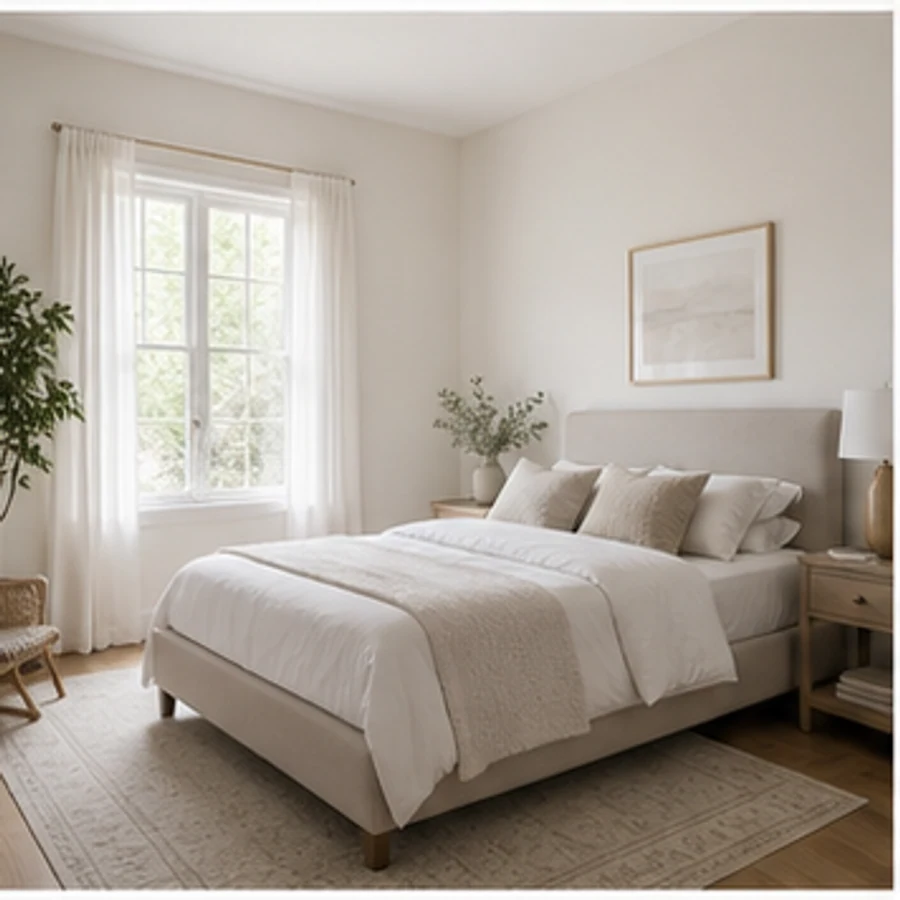
Deep blue bedroom with trim preserved
BeforeAfter

Deep blue bedroom with trim preserved

Keep paint inside the selected boundary

Space-aware by default

Keep paint inside the selected boundary

Brush over the wall or cabinet face so trim, windows, art and adjacent surfaces remain protected.
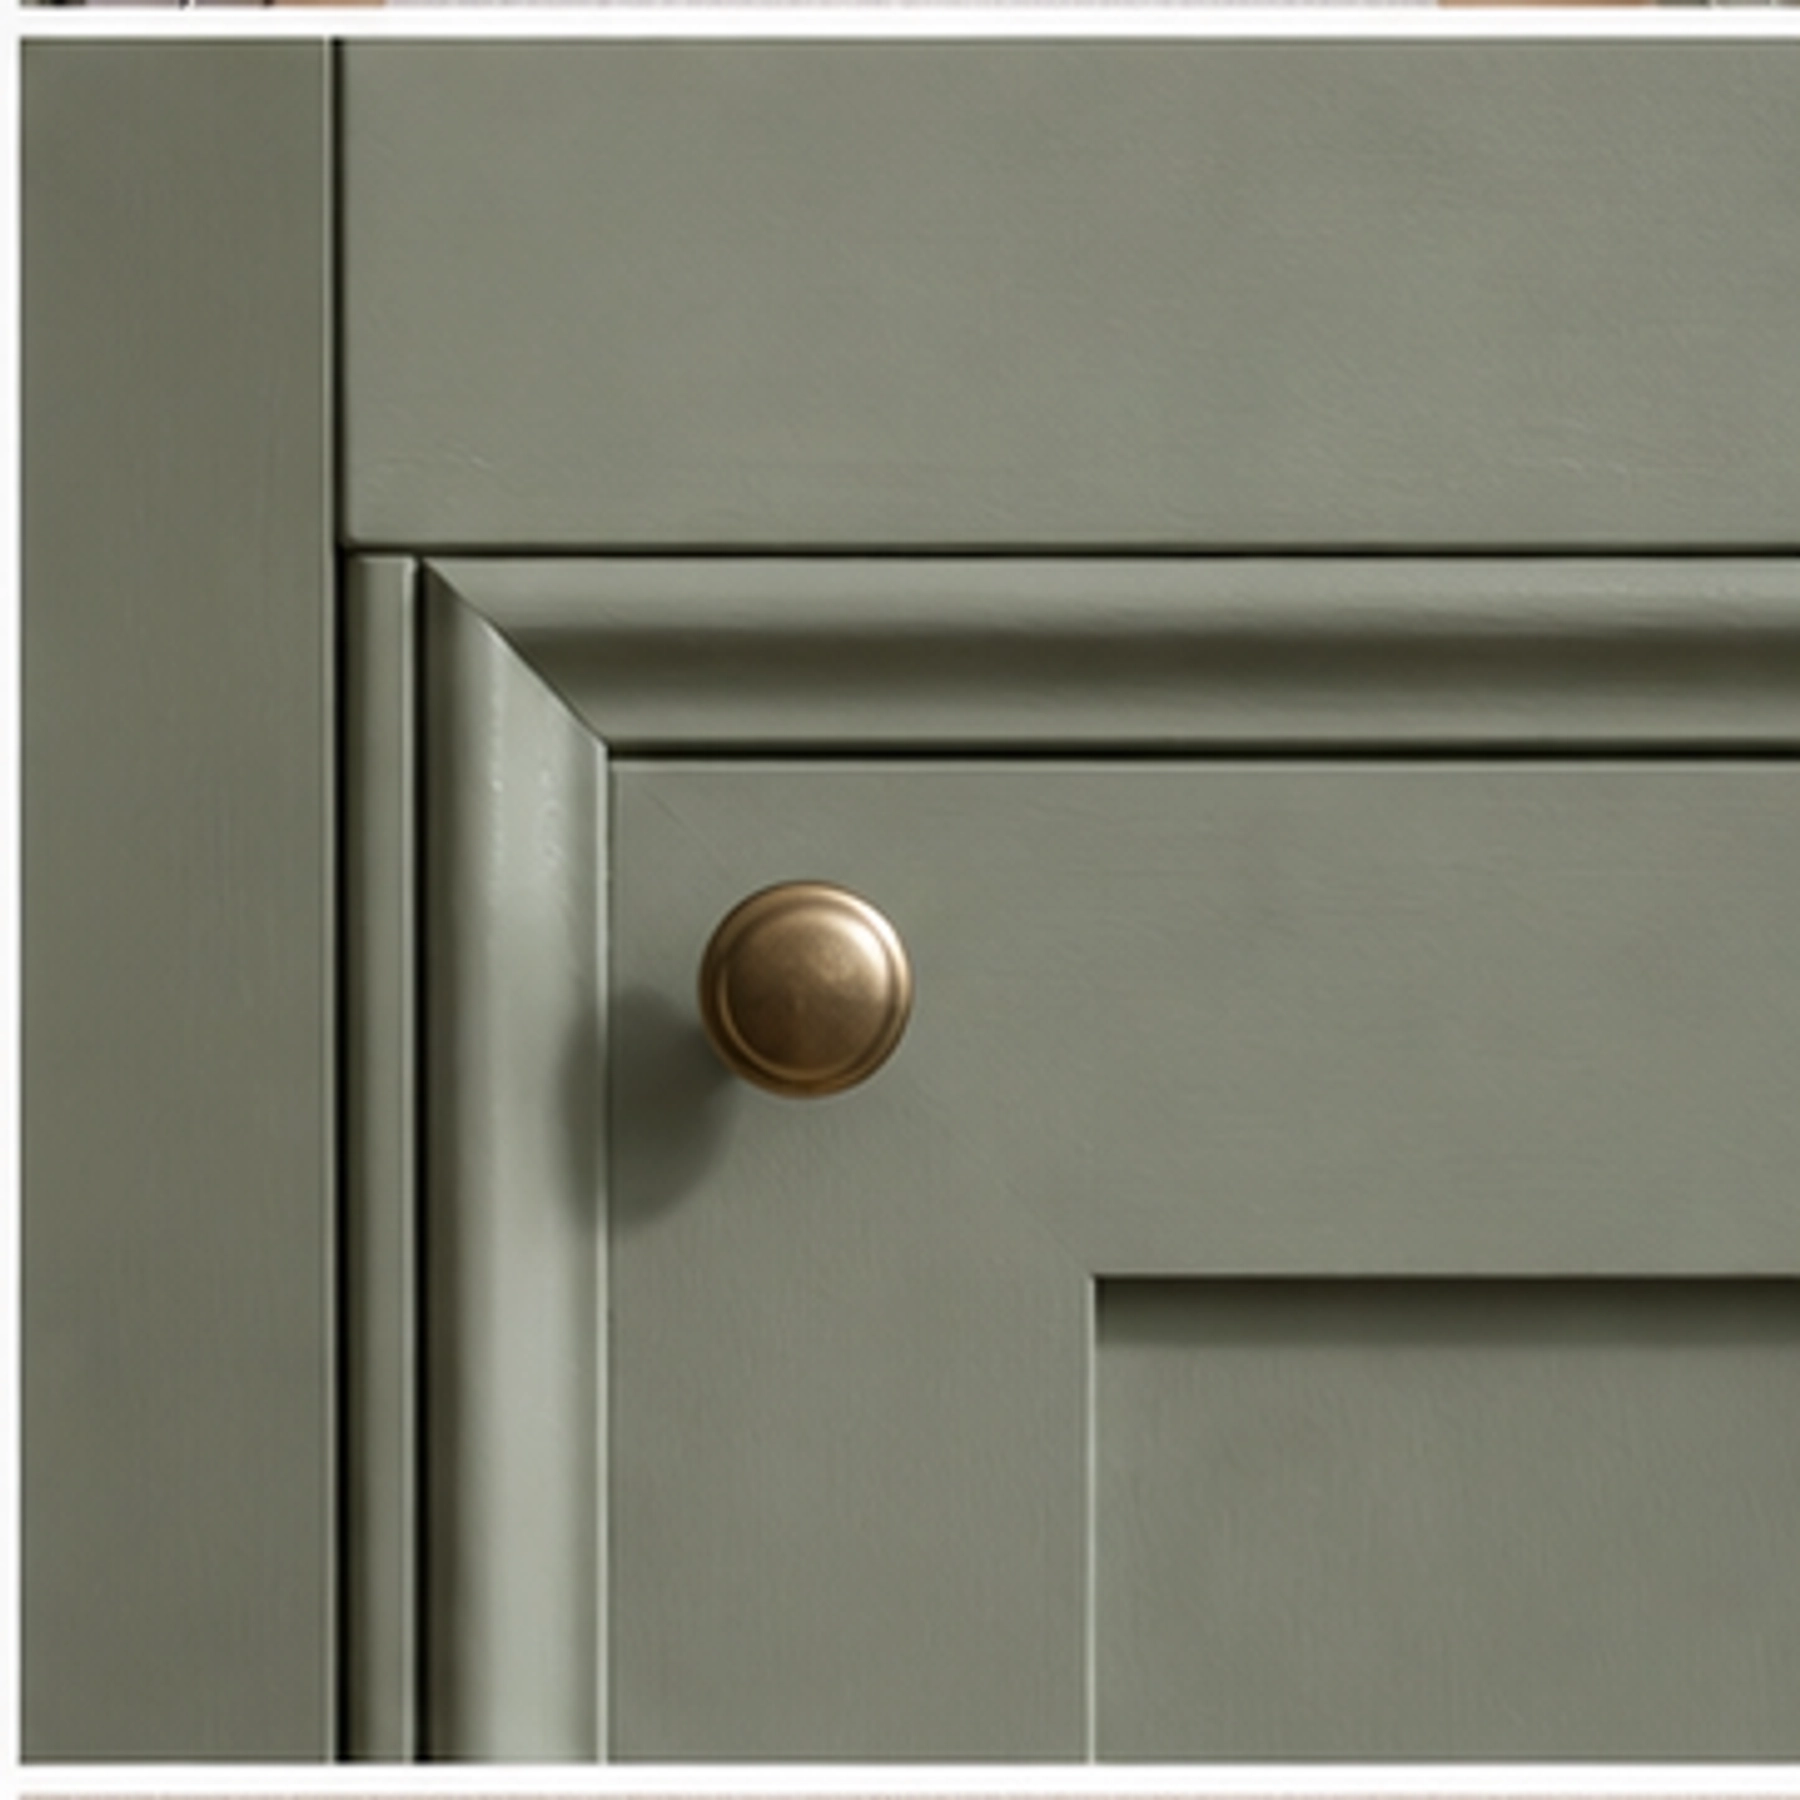
  • Preserves camera angle and room boundaries
  • Keeps doors, windows and fixed architecture coherent
  • Produces realistic materials, scale and lighting
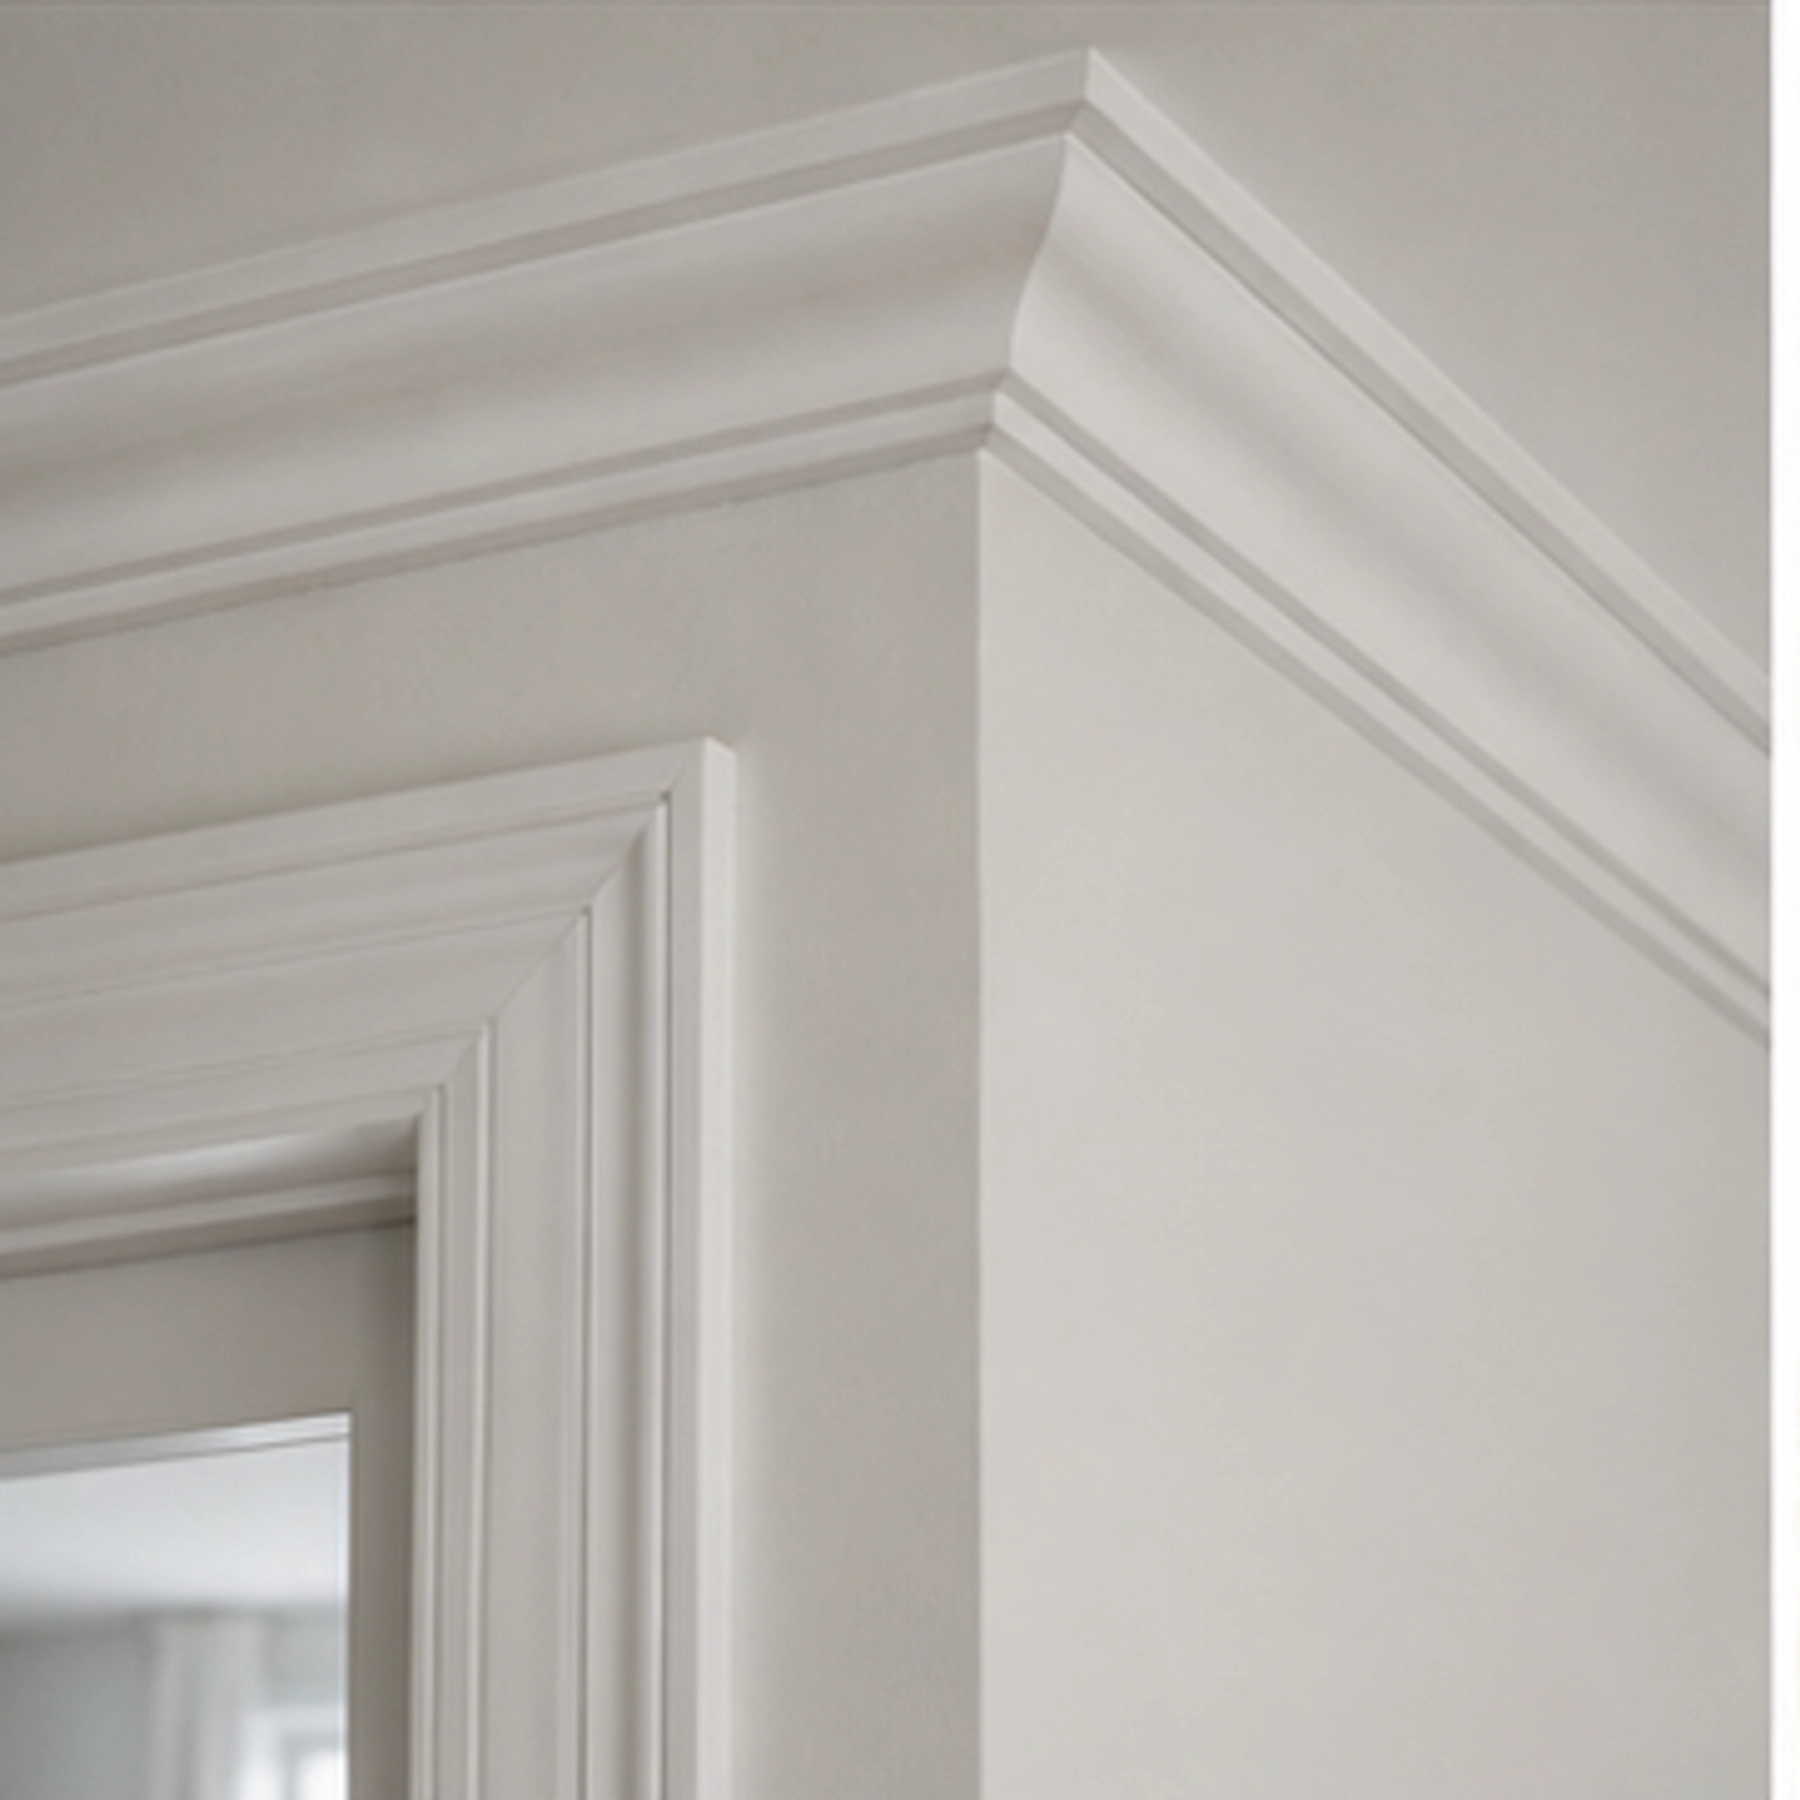
Preserve the light that makes color believable

Explore before you commit

Preserve the light that makes color believable

The edit retains natural shadows and highlights instead of flattening the wall into a digital color block.
  • Compare several directions from one photo
  • Add precise instructions in natural language
  • Download concepts for planning and collaboration
See distinct directions without losing the original space

Compare real alternatives

See distinct directions without losing the original space

Each concept stays anchored to the same viewpoint, so materials, color and layout choices are easier to compare honestly.
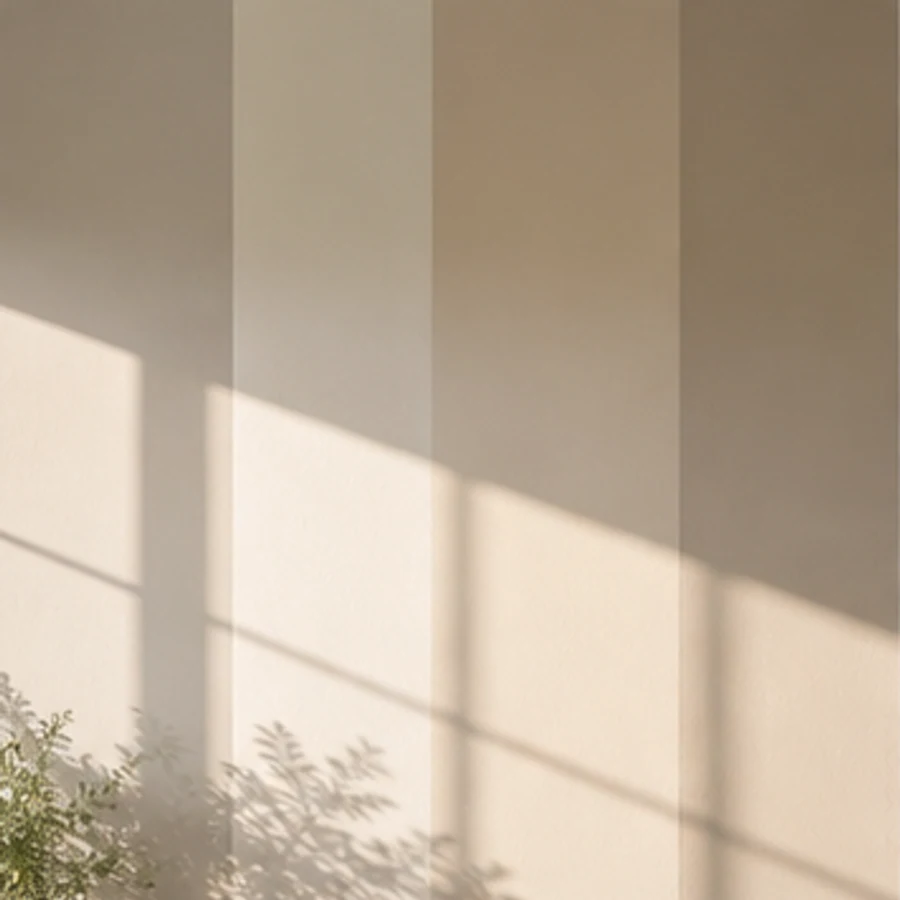
  • Uses a consistent camera position across concepts
  • Makes finishes and atmosphere easy to compare
  • Keeps every option grounded in the source photo
Build a clearer brief before spending on the real space

From idea to decision

Build a clearer brief before spending on the real space

Use the original photo and several finished directions to align owners, clients or contractors before committing time and budget.

  • Share presentation-ready visual directions
  • Reduce ambiguity in design conversations
  • Save preferred concepts for the next project step

Simple, considered workflow

From one photo to a confident design direction

01

Upload a clear photo

Use a bright, straight-on image that shows the key boundaries and fixed features of the space.

02

Choose the direction

Select the space and style, then add any materials, colors or objects that matter to you.

03

Generate and refine

Review the before-and-after result, adjust your instruction and create another direction when needed.

Popular directions

All WallsAccent WallCeilingWarm NeutralCool NeutralEarthy

Keep designing

More tools for the rest of your home

Questions, answered

What to know before your first generation

Mark a wall, ceiling or cabinet area and preview realistic paint colors and finishes while preserving light, texture and room details. Use it to compare several directions quickly, then keep the strongest result for discussion, review, or further refinement.

See the color in your room before opening the can

Bring one clear photo and a direction. Explore a realistic concept before you spend on furniture, finishes or construction.
See pricing