Room Photo Guide for AI Design
A practical phone-photo checklist for clear room geometry, accurate scale, consistent lighting, and more useful AI redesigns.
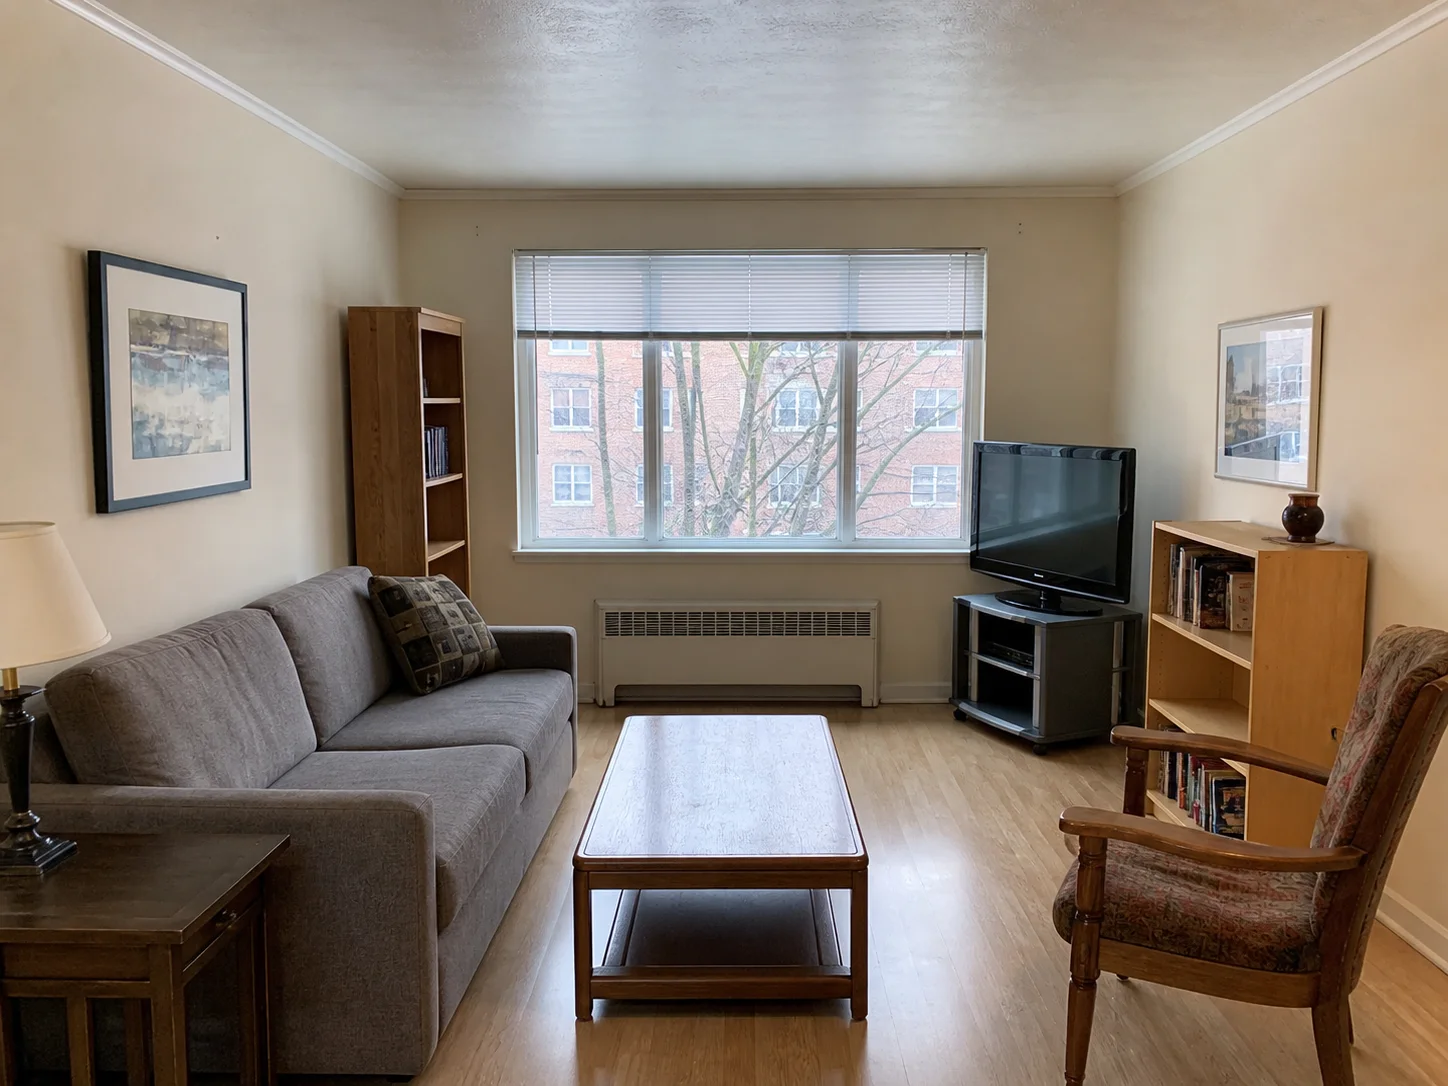
The quality of an AI room redesign begins before you choose a style. A useful source photo gives the model readable walls, openings, floor edges, furniture scale, and lighting. A confusing photo forces it to guess.
This guide shows how to take a room photo with an ordinary phone so that an AI room design tool can preserve the space and change the design direction more reliably.
The 60-second room photo checklist
Before taking the photo:
- Clean the camera lens.
- Turn on the room lights and open curtains if daylight is available.
- Remove only temporary clutter that hides the floor or architecture.
- Stand in a corner or doorway where two walls are visible.
- Hold the phone level at roughly chest height.
- Include the floor-to-wall line and some ceiling.
- Use the normal lens rather than an extreme wide-angle mode.
- Take two or three frames and choose the sharpest one.
Show the geometry the AI needs
The most useful photo usually shows at least two adjoining walls. That intersection helps the model understand depth. Keep windows, doors, built-ins, columns, and permanent finishes visible whenever possible.
Avoid cropping directly through a doorway, window, sofa, or island. A complete boundary gives the model a better chance of preserving it. If the room is too large for one view, take multiple photos, but use one clear primary view for each generation.
Keep the camera level
Tilting the phone upward or downward makes vertical lines converge. The room may then appear taller, narrower, or more distorted than it really is. Turn on the camera grid, align door frames with the vertical guides, and step backward instead of tilting when you need more of the room in frame.
An ultra-wide lens can be useful in a very small bathroom, but it often stretches furniture near the edges. Start with the standard lens. Use wide angle only when there is no practical alternative.
Use even, readable light
Bright windows and dark interiors in the same frame can erase important detail. Photograph near the middle of the day, turn on interior lights, and tap on a mid-tone area to set exposure. Avoid heavy filters, portrait blur, and night modes that invent texture.
If you want to compare daylight and evening concepts, start from the clearest neutral image. Lighting mood can then be changed deliberately with day-to-dusk rather than being baked into an underexposed source.
What to remove—and what to keep
Move laundry, bags, loose cables, and small objects that obscure surfaces. Keep furniture if its size helps explain the room or if you want the layout preserved. For an empty starting point, use room decluttering or furniture removal first instead of hiding large objects with awkward crops.
Do not remove permanent features just to make the photo cleaner. Radiators, vents, switches, structural beams, and fixed cabinetry affect real design decisions.
Add one scale reference
AI works from pixels, not a measured survey. A standard door, familiar chair, countertop, or visible floorboard pattern gives useful scale context. For renovation decisions, keep actual measurements separately; a generated image is not a substitute for measured drawings.
Write a prompt that matches the photo
Once the image is clear, write a brief with four parts:
- The room type and intended use.
- The desired style and two or three materials.
- The elements that may change.
- The architecture and camera view that must remain.
Example: Warm minimalist living room with pale oak, linen upholstery, and soft stone. Replace the loose furniture and lighting. Keep the windows, fireplace, floor outline, ceiling height, and camera position unchanged.
For more prompt structure, read how to get a better AI room design from one photo.
Common photo mistakes
- A screenshot instead of the original: compression and interface overlays reduce detail.
- Strong vertical tilt: the room shape becomes ambiguous.
- People or pets blocking the view: important surfaces and edges disappear.
- Panorama distortion: walls and openings can bend unnaturally.
- Very dark corners: the model invents materials where it cannot see them.
- Too much crop: there is not enough architecture to anchor the redesign.
A repeatable capture workflow
Take one wide reference photo, one alternate angle, and a few close-ups of materials you want to keep. Use the wide photo for generation and the close-ups as your own decision record. Generate several directions from the same source before changing camera angle; this makes style, material, and layout differences easier to compare.
The best source image is not necessarily the most dramatic photograph. It is the one that makes the real room easy to read.