AI Kitchen Design Checklist
Use AI kitchen concepts to compare layouts, cabinet finishes, lighting, storage, and workflow—without mistaking a render for construction documentation.
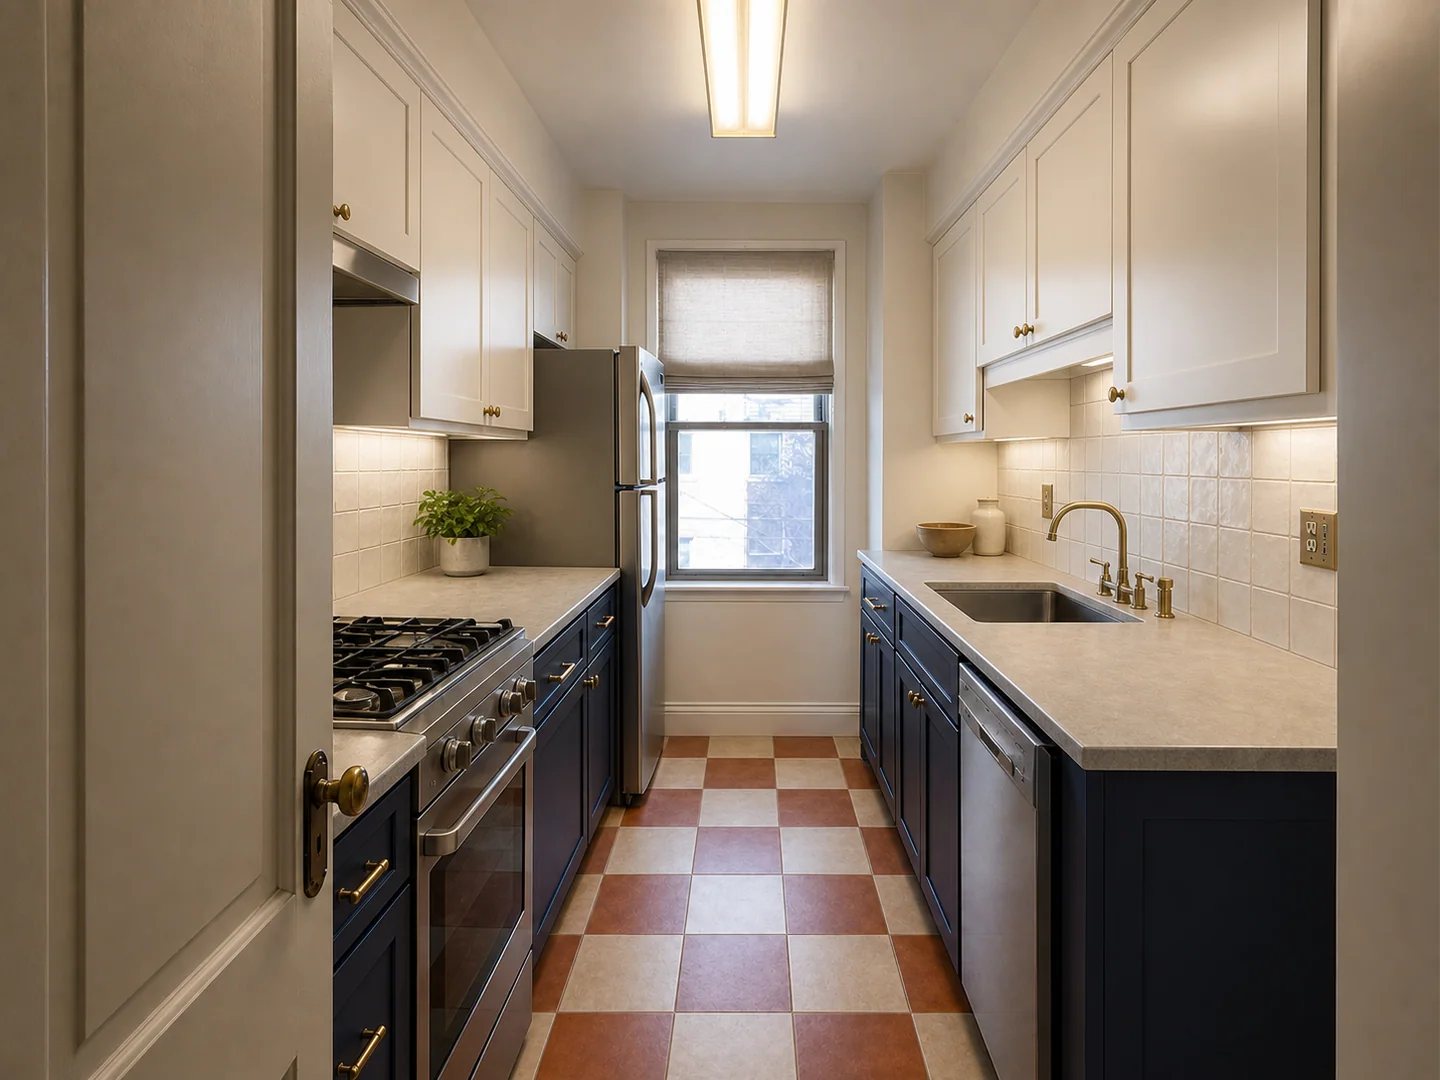
An AI kitchen image can make a direction understandable in minutes. It cannot confirm plumbing routes, structural capacity, appliance clearances, electrical loads, or local code. The useful approach is to turn the image into a structured brief that a kitchen designer or contractor can verify.
Use this checklist before and after generating with the AI kitchen design tool.
1. Record the existing room before changing it
Capture a level wide photo and record:
- Wall-to-wall dimensions and ceiling height
- Door and window sizes and opening directions
- Plumbing, gas, ventilation, and major electrical locations
- Radiators, beams, columns, bulkheads, and sloped ceilings
- Appliance dimensions
- Elements that must remain because of budget or building constraints
Read the room photography guide if the source image is dark, distorted, or heavily cropped.
2. Define the kitchen job
Write down who cooks, how often, and what repeatedly fails in the current room. A kitchen for one person who reheats meals has different priorities from a family that cooks together every evening.
Choose three priorities, such as:
- More uninterrupted preparation surface
- Better pantry and small-appliance storage
- Two-person circulation
- Safer separation between cooking and seating
- Easier cleaning
- More daylight or task lighting
3. Test the layout before the finishes
Do not let attractive cabinet colors distract from a weak plan. Compare the broad layout first: single-wall, galley, L-shaped, U-shaped, island, or peninsula.
For every concept, check whether doors and drawers can open, whether people can pass behind the cook, and whether the refrigerator, sink, and hob form a practical sequence. Exact clearances must be measured and checked by a professional; the image is a discussion aid, not evidence of compliance.
4. Lock the elements that cannot move
Tell the model explicitly which windows, doors, structural walls, plumbing positions, and camera view must remain. If you are only comparing finishes, say that the layout and appliance positions are fixed.
Focused experiments are easier to evaluate:
- Use material swap for countertop or backsplash directions.
- Use paint visualization for wall and cabinet color families.
- Use flooring visualization when the floor is the primary decision.
5. Build a small material family
Choose one cabinet direction, one worktop family, one backsplash approach, one floor direction, and one hardware tone. Ask for material characteristics rather than vague luxury language.
Example: Flat-panel warm white cabinets, honed light-gray stone worktop, vertical off-white tile backsplash, pale oak floor, brushed nickel hardware, neutral under-cabinet light.
Generated textures are visual approximations. Save real product samples and codes separately.
6. Plan lighting in layers
A polished render often hides the lighting logic. Your brief should identify:
- General ceiling illumination
- Worktop task lighting
- Lighting above an island or table
- Optional accent lighting
- Daylight direction and window treatment
Ask for realistic brightness and shadow. A uniformly glowing room can look pleasant but provides little evidence that the work surfaces will be usable.
7. Audit storage by activity
List where food, cookware, plates, waste, cleaning supplies, and small appliances should live. Check tall corners, narrow gaps, and the space above refrigerators. AI can suggest a visual arrangement, but only measured cabinet planning can confirm internal capacity and hardware.
8. Compare concepts with one scorecard
Score every direction from 1 to 5 for:
- Workflow
- Storage
- Cleaning
- Daylight and task light
- Seating and circulation
- Fit with budget
- Fit with the rest of the home
Keep the same camera view so the comparison is fair. Three controlled options are usually more useful than ten unrelated images.
9. Convert the chosen image into a professional brief
Attach the selected concept, the original photo, measured plan, appliance schedule, real material references, must-keep list, and unresolved questions. Label AI images as concept visuals.
Before purchasing or construction, ask qualified professionals to verify dimensions, structure, ventilation, plumbing, electrical work, fire safety, waterproofing, accessibility, and local requirements.
The best AI kitchen result is not the most photorealistic image. It is the one that exposes the decisions clearly enough to measure, price, and verify.