Better AI Room Design From One Photo
A practical brief for preserving room structure, comparing styles, and turning AI concepts into decisions you can actually use.
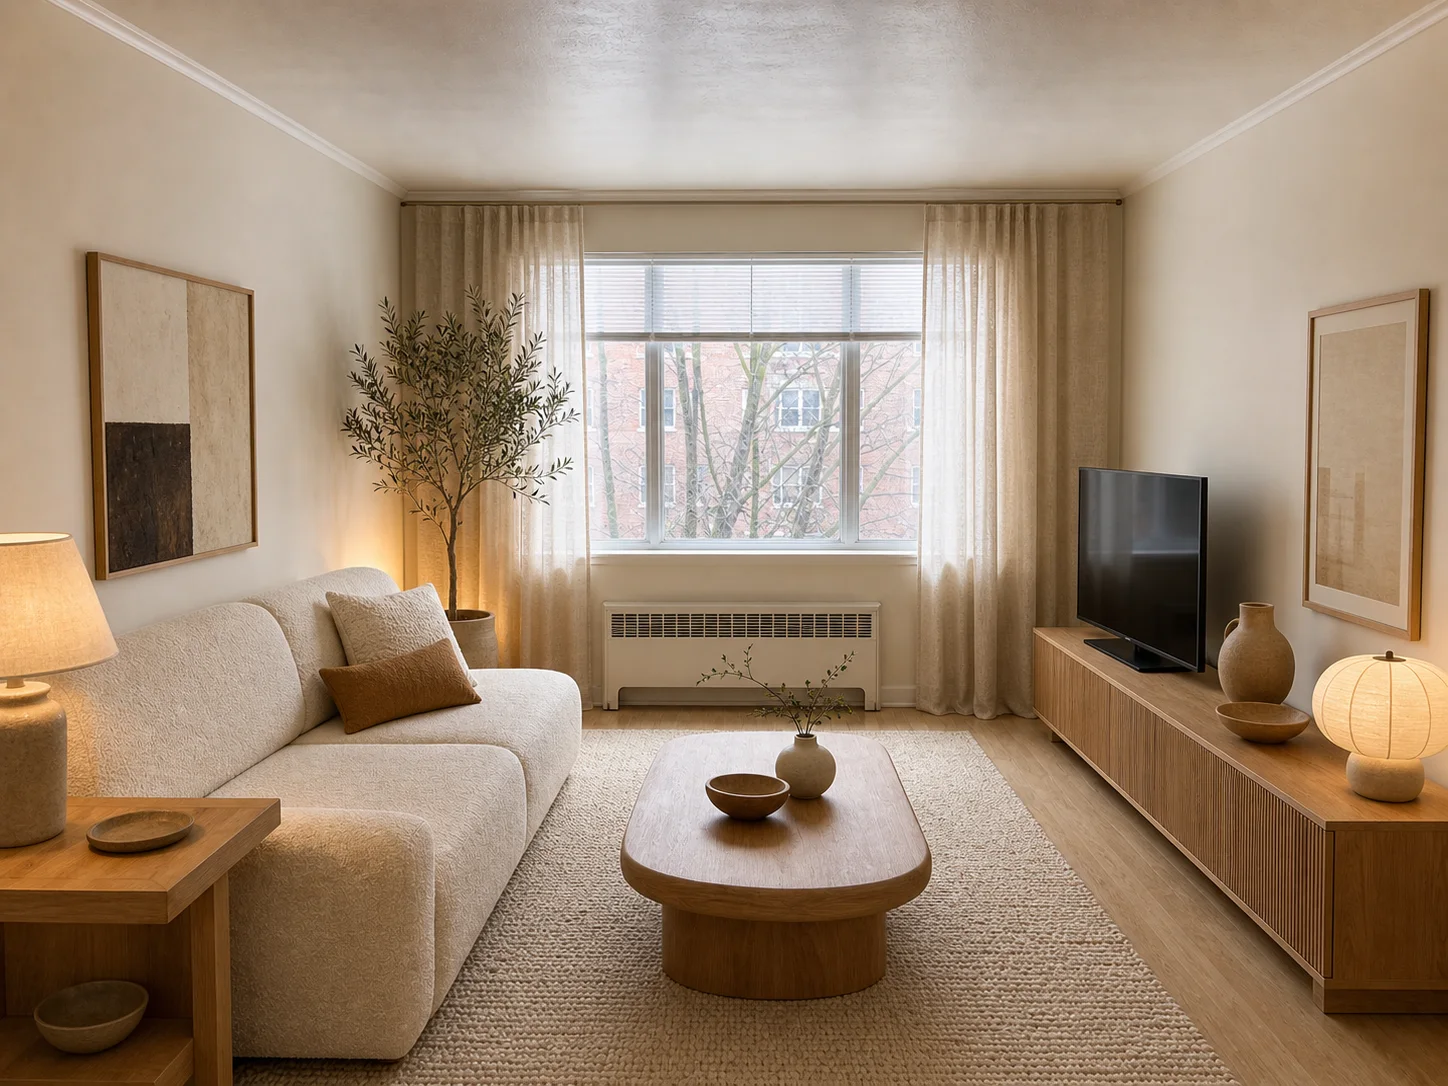
AI room design works best when you treat the first generation as a design conversation, not a final construction drawing. A clear source photo and a focused brief give the model enough structure to preserve what matters while exploring what can change.
Start with a readable room photo
Use a photo taken from a corner or doorway so at least two walls are visible. Keep the camera level, include the floor-to-wall junction, and avoid a heavily cropped image. Natural daytime light is helpful because openings, materials, and depth remain readable.
Before uploading, remove temporary clutter only if it blocks important architecture. The model should be able to see doors, windows, built-ins, floor edges, and the main circulation path. Follow the full room photography checklist when the source image is difficult to read.
Describe decisions, not adjectives
“Modern and beautiful” leaves too much open to interpretation. A useful brief identifies:
- room type and intended use;
- two or three primary materials;
- overall color temperature;
- furniture density;
- lighting mood;
- elements that must remain unchanged.
For example: Warm contemporary living room with pale oak, textured limestone, oatmeal upholstery, low furniture, and soft indirect evening light. Keep the windows, ceiling height, fireplace, floor outline, and camera position unchanged.
Separate must-keep elements from desired changes
Write two short lists. The first contains architecture and objects that must remain. The second contains what the model may change. This is more reliable than mixing every requirement into one paragraph.
If only one surface is changing, use a focused workflow such as paint visualization, flooring visualization, or material swap. A narrower task makes unrelated changes easier to avoid.
Compare one variable at a time
Generate several directions from the same image and lock the camera view. Change one major variable—such as flooring, cabinetry color, or furniture layout—between versions. Controlled comparisons are useful; radically different rooms may look impressive but are harder to judge.
Use a simple scorecard for function, materials, lighting, maintenance, budget fit, and relationship to the rest of the home. Save the original beside every option.
Know what the image can and cannot decide
AI concepts can help align mood, proportion, palette, and overall direction. They do not replace measured drawings, structural review, product specifications, code checks, or professional advice.
Generated products and textures may not correspond to purchasable items. Doors can appear wider, furniture may be incorrectly scaled, and hidden services are not understood from a photograph. Treat those issues as questions to verify, not facts.
Turn the selected image into a useful brief
Once a direction feels right, record what it represents:
- materials and color families;
- furniture type and approximate density;
- lighting intention;
- elements that remain unresolved;
- measurements and professional checks still required.
Attach the original photo and two rejected options so a designer, contractor, or client can see what was compared. For empty property marketing rather than renovation, use the more restrained virtual staging workflow.
The best result is not the most dramatic image. It is the one that helps everyone discuss the same room with less ambiguity.