Virtual Staging for Real Property
How to stage an empty room with believable scale, a consistent buyer story, and fewer misleading visual changes.
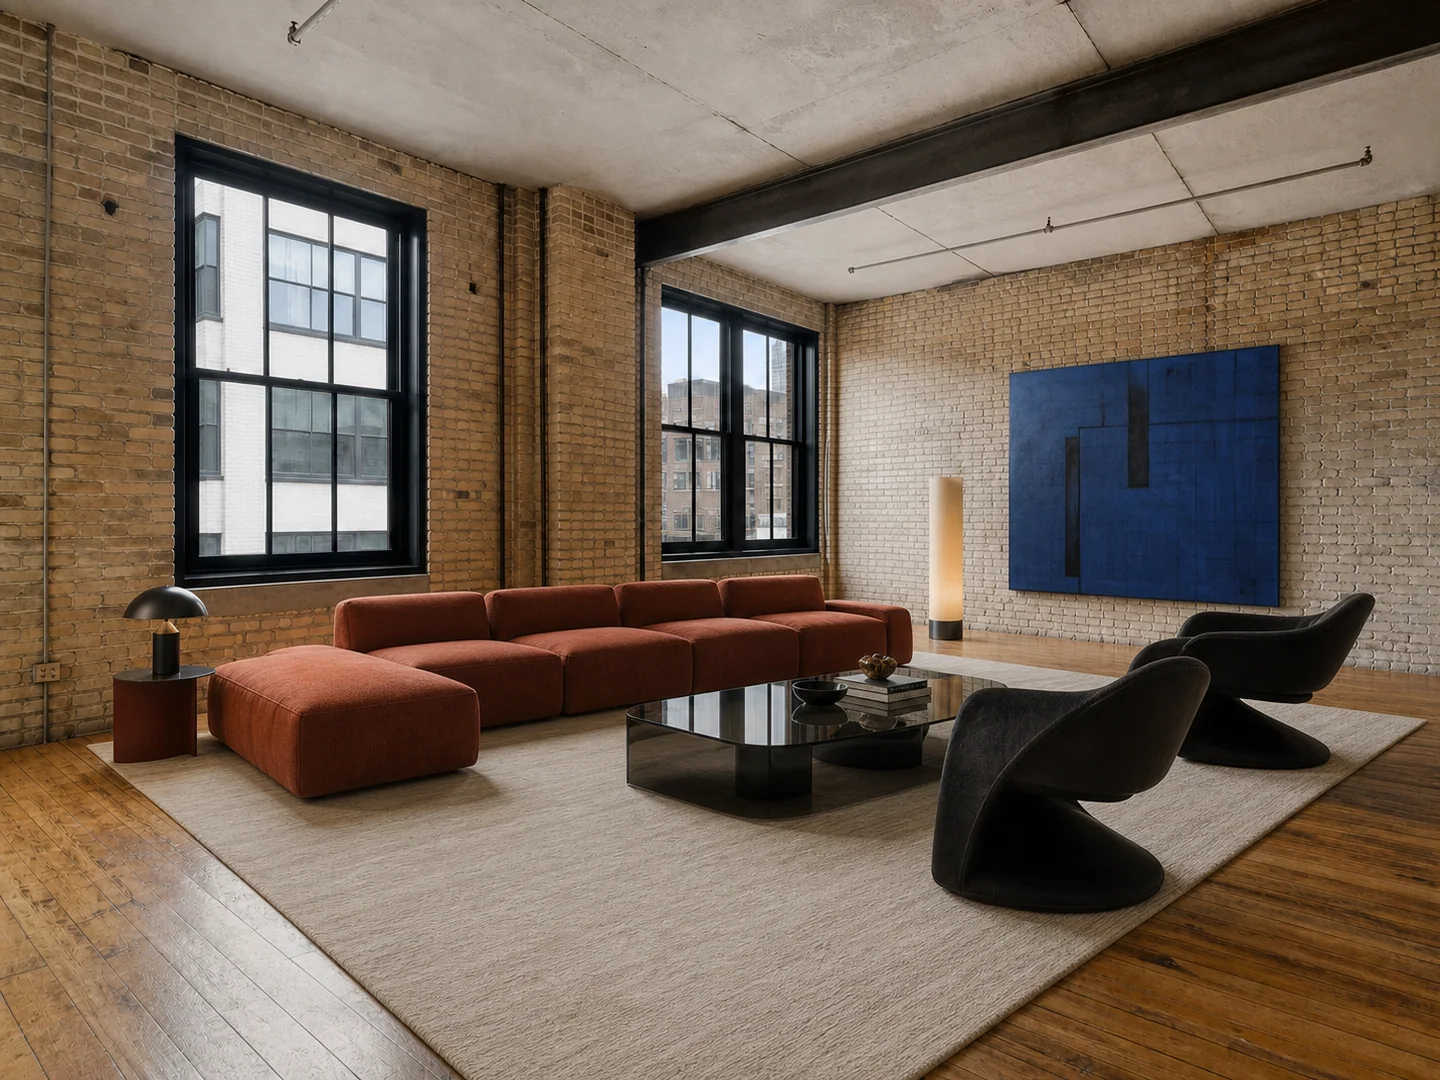
Good virtual staging does not try to hide the property. It helps a buyer understand scale, use, and possibility while keeping the architecture honest.
Preserve the evidence of the room
Keep windows, doors, radiators, outlets, columns, ceiling lines, and permanent finishes where they are. Changing those elements creates a more dramatic image, but it also breaks the connection between the listing and the space a buyer will visit.
Use the same camera position and crop across before-and-after images. That continuity makes the transformation easier to trust.
Let furniture explain scale
Choose furniture that fits the actual dimensions. Avoid oversized sofas in narrow rooms or tiny dining tables in large open plans. Leave believable walking clearances and keep key openings visible.
If the room has an unusual shape, use staging to explain it rather than erase it. A reading corner, compact desk, or defined dining zone can make an awkward area legible.
Build one visual story across the listing
A property feels more coherent when rooms share a palette and level of formality. Pick a small material family—perhaps warm oak, linen, soft stone, and muted green—and reuse it with variation. The bedroom should not look like it belongs to a completely different house from the living room.
Start from a useful source photo
Virtual staging quality depends heavily on the photo you upload. A level camera, visible corners, clear floor edges, and balanced daylight give the AI enough evidence to place furniture with believable scale. If the source image is dark, heavily cropped, or shot from an extreme angle, follow the room photo guide for AI design before generating.
For listing work, keep a consistent image set. Shoot the empty room, avoid moving permanent objects between angles, and use one exposure style across the property. That makes the staged images feel like part of the same real home instead of a disconnected gallery.
Choose the right staging workflow
If the room still contains loose items, start with room decluttering. If you need a clean empty-room base, use AI furniture removal before staging. When the room is already empty and readable, go directly to the AI virtual staging tool and focus the prompt on room use, furniture scale, buyer profile, and style.
Avoid asking one generation to do everything. Furniture placement, paint color, flooring, and exterior changes are different decisions. Use focused tools such as paint visualization, flooring visualization, or AI exterior design when those changes need their own review.
Check before publishing
Before a virtually staged image goes into a listing, compare it against the original photo:
- Are windows, doors, built-ins, ceiling lines, fireplaces, and floor transitions unchanged?
- Does every furniture piece have believable size, shadow, and contact with the floor?
- Can a buyer still understand the real room dimensions and circulation?
- Is the image labeled as virtually staged where platform rules or local regulations require it?
- Does the staging match the likely buyer and the actual price point of the property?
This review step is where AI home design becomes practical: the generated image is not just attractive, it is clear enough to support a real marketing conversation.
Disclose the transformation
Virtual staging should be clearly labeled wherever listing rules or local regulations require it. It is also good communication practice. Keep the original photo available so viewers can compare the real condition with the proposed use.
The goal is simple: help people imagine living there without asking them to believe in a property that does not exist.